 |
| Home | Solutions/Products | Deployment/Installation | About Cryptography | User Manual | Tutorial | FAQ |
Creating and Extracting Archive FilesIt is important to backup your important files regularly. Some people pack their files in a zip archive and then store the zip file on a different drive or on a different machine. All these are good measures to prevent loss of your data. To make sure your archive file is protected from unauthorized access you can also sign and encrypt the zip file before storing it. To make the task easier iSafeguard™ provides you with an archive wizard that can be used to create three kinds of archives. For more information about these archives refer to User Manual: Working With Archives.
Creating Archive FilesNow let's go through the steps to create a signed and encrypted archive file. To create an archive file you use the Windows Explorer context menu.
This brings up the archiving wizard as shown in the following figure. Let's follow the wizard to create a signed and encrypted archive file.
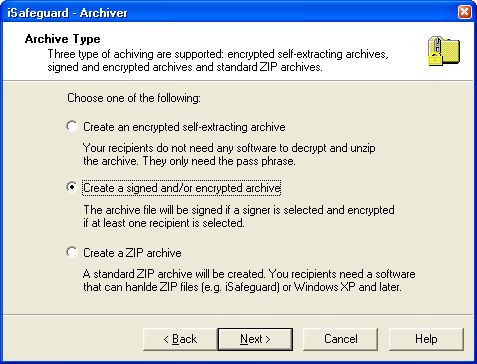
The archive type selection page is displayed as shown in the following figure.
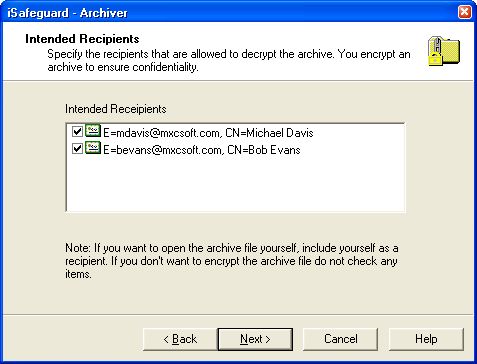
The recipient selection page shows as following.
The signer selection page shows as following.
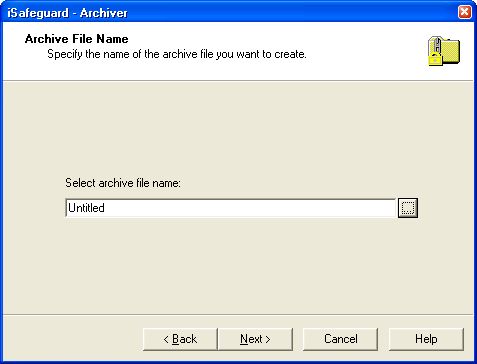
The archive name selection page shows as following.
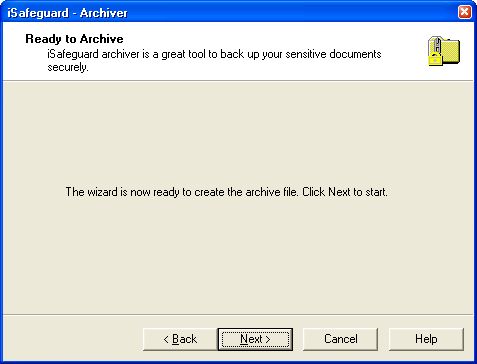
Now you are ready to create the archive file.
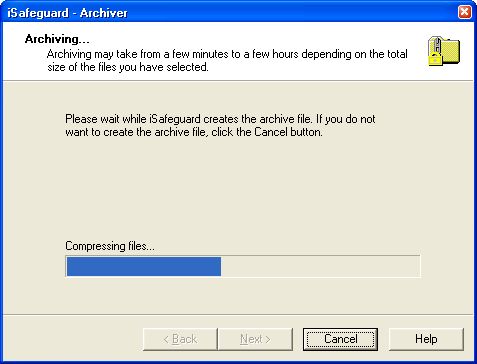
Now wait for archiving to complete. If you want to cancel the task click the Cancel button.
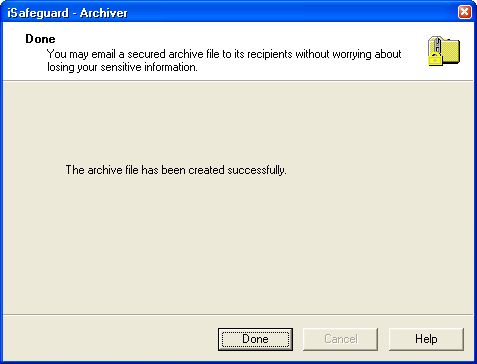
When the archiving is done the following page shows.
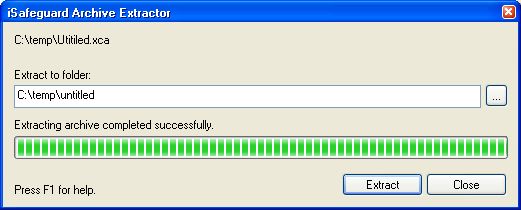
Congratulation! You have just created your first PKI protected archive file. Now let's find out how to extract contents from the protected archive file. Extracting Archive FilesAs an exercise let's extract the archive we have just created.
A dialog box similar to the one below shows.
Now you know how to create a signed and encrypted archive file. Use the same wizard and similar steps to create self-extracting or zip archive files. |
 Note: This feature is not available in
the freeware version of the software, i.e. iSafeguard™ Freeware.
Note: This feature is not available in
the freeware version of the software, i.e. iSafeguard™ Freeware.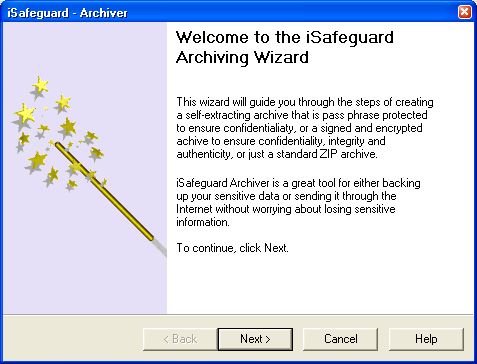

| Trademarks | Copyright © 2001-2007 MXC Software. All rights reserved. |